Wood staining can dramatically enhance the beauty and longevity of decks, fences, and outdoor wood features—especially in humid climates like Miami. However, even experienced DIYers and contractors can fall into common traps that lead to blotchy, uneven finishes or premature fading.
In this article, we’ll cover the most frequent wood staining mistakes, how to avoid them, and how to fix them when they occur. Whether you’re a homeowner looking to enhance your curb appeal or a property manager overseeing multiple units, this guide will help you maintain wood features that look sharp and last.
If you’re looking to maintain or enhance your property’s wooden features, consider a trusted wood staining service in Florida tailored to Miami property owners.
Why Most Painters Make Wood Staining Mistakes
Many staining errors occur because people underestimate the sensitivity of wood to preparation, product selection, and environmental conditions. Unlike paint, which forms a protective film on the surface, stain penetrates deep into the wood fibers.
Wood staining involves factors such as moisture content, temperature, wood grain, and even previous treatments, all of which play a significant role in the outcome. Even minor missteps can result in streaking, uneven color, or premature peeling.
Lack of Surface Prep
One of the top reasons for common mistakes in staining wood is poor preparation. Dirt, mildew, remnants of old stain, or inconsistent sanding can all prevent the new stain from absorbing evenly. Many painters skip critical steps, such as cleaning with TSP (trisodium phosphate) or sanding out old finishes—tasks that set the foundation for a flawless application.
Wrong Type of Stain
Not all stains are created equal. Oil-based stains penetrate deeply and are often preferred for their durability, but they take longer to dry and can be affected by humidity. Water-based stains dry faster and are easier to clean up, but may raise the wood’s grain. Choosing the wrong type of stain for your wood type or climate—especially in humid Miami—can result in a finish that fades too quickly or doesn’t adhere well.
Rushing the Process
Staining is not a one-day job if you want long-lasting results. Skipping dry time between cleaning, sanding, staining, and sealing can lock in moisture or leave the wood vulnerable to mildew. Some DIYers also apply a second coat before the first one is fully cured, which causes tackiness and poor bonding. Patience is key.
Ignoring Weather Conditions
Weather plays a huge role in how stain behaves. In Miami, intense UV rays and frequent rain can disrupt staining schedules. High humidity can prevent the stain from curing properly, leading to sticky finishes and poor durability. On the flip side, applying stain in direct sunlight can cause it to dry too quickly, resulting in lap marks and uneven color. Always check the forecast and pick the right time of day to work.
Misjudging Wood Condition
Painters often overlook the age and condition of the wood. Older wood may require different preparation than freshly milled lumber, and softwoods like pine absorb stain differently than hardwoods. Without testing a small patch first, you’re left guessing—often with disappointing results.
For homeowners, these mistakes mean more frequent touch-ups and higher maintenance costs. For property managers, they can lead to tenant complaints, premature repairs, and increased labor expenses.
Another frequently overlooked wood stain mistake can lead to costly repairs and frustrating do-overs—especially if you’re working with outdoor wood in humid environments like Miami.
Steps on How to Properly Stain A Deck
Before diving into what not to do, let’s clarify how to stain wood the right way. A well-stained deck enhances the look of your outdoor space, protects the wood from weather damage, and extends its lifespan. These essential steps will help you avoid frustration and costly do-overs:
- Clean the Surface: Thoroughly cleaning the wood is non-negotiable. Use a wood cleaner, brightener, or deck stripper to remove dirt, mildew, and any remaining finishes. A clean surface ensures the stain adheres properly. After cleaning, allow the wood to dry for at least 24–48 hours to eliminate hidden moisture that could interfere with absorption.
- Sand if Needed: Sanding helps remove rough patches and evens out the surface. Use 60–80 grit for older or rough wood, and 100–120 grit for newer, smoother boards. Always sand in the direction of the grain to prevent swirl marks. Sanding also helps open the wood pores, allowing better stain penetration.
- Choose the Right Stain: The right stain type is essential for Miami’s climate. Look for a semi-transparent or solid stain that’s UV- and mildew-resistant. Semi-transparent stains allow the grain to show while offering weather protection, while solid stains provide a more uniform color and extra shielding against the elements.
- Test the Stain: Always perform a test patch in an inconspicuous area. Different wood types absorb stain differently, and testing helps you confirm the color, absorption, and finish before committing to the entire surface.
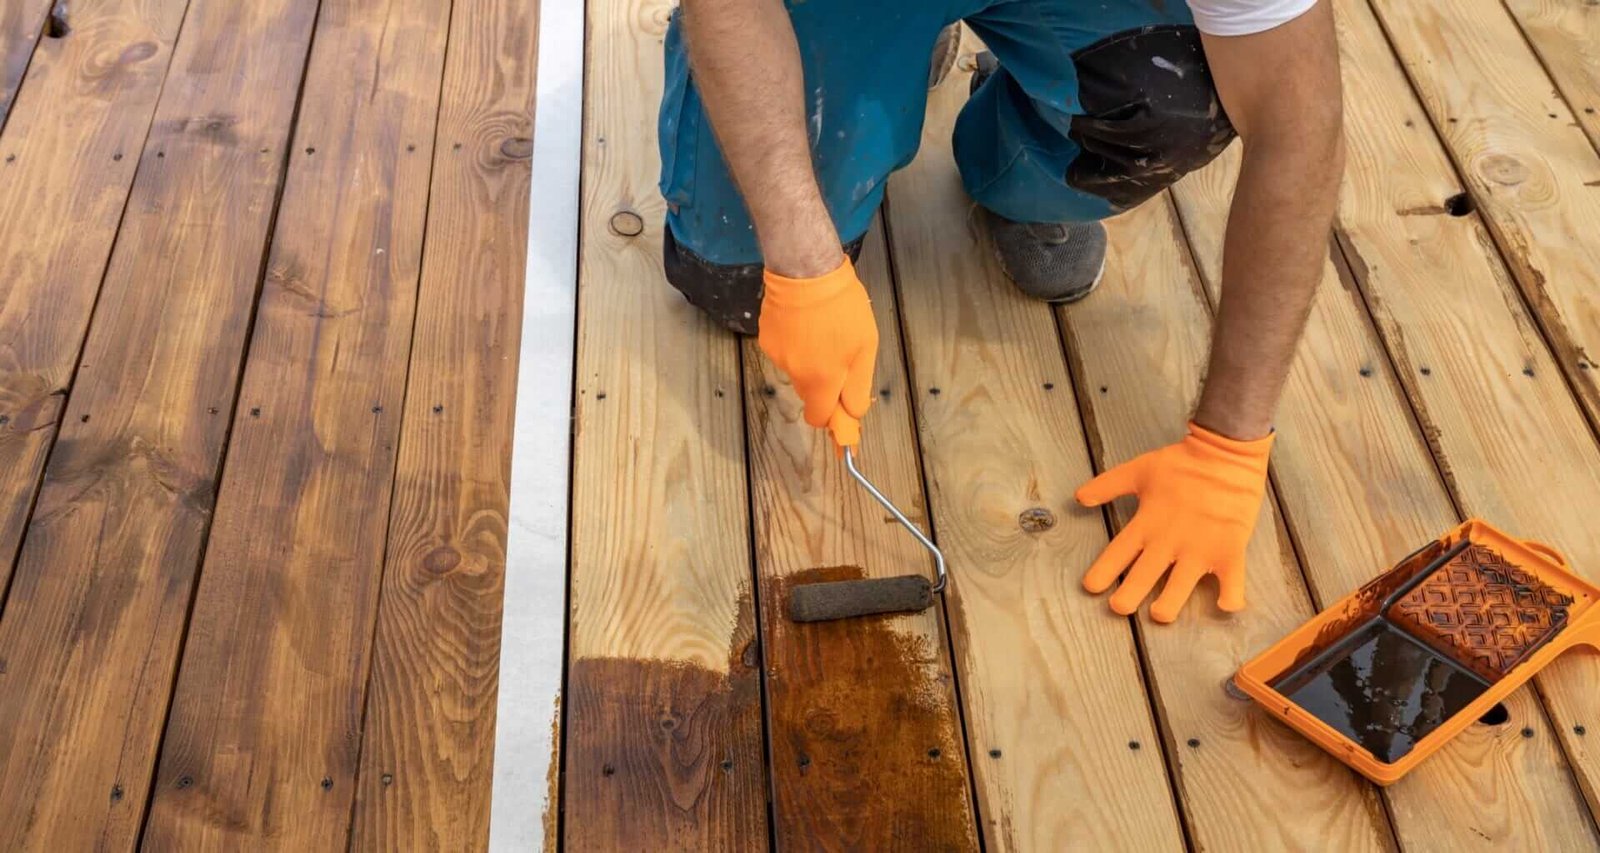
- Apply Evenly: Apply stain with a high-quality brush, roller, or sprayer. Work in small sections and maintain a wet edge to avoid lap marks. Work with the grain and avoid applying too much at once, as this can lead to uneven drying and blotches.
- Wipe Excess Stain: Especially when using penetrating stains, wipe off any excess with a lint-free cloth within a few minutes of application. Leaving excess stain on the surface can cause tackiness and an unattractive sheen.
- Let It Cure: Allow the stain to cure fully before using the deck. Avoid foot traffic and exposure to rain for at least 24–48 hours, as specified in the product instructions and weather conditions. Curing time ensures the stain bonds properly and delivers maximum protection.
Helpful visuals and expert-backed techniques for deck staining are outlined in this detailed guide on different ways to stain a deck, making it easier to understand each step in the process.
Pro Tip for Property Managers: Create a seasonal maintenance plan for decks across all your properties. Log prep and staining dates, stain types, and curing times. This not only ensures consistency but helps in budgeting and scheduling future maintenance.
If you’re managing rental units or shared spaces, keeping a maintenance log and schedule can help ensure these steps are correctly repeated with each reapplication.
Top 5 Wood Staining Mistakes and How to Fix Them
1. Uneven Color or Blotchy Finish
The Mistake: Applying stain without properly prepping the wood or failing to wipe off excess.
How to Fix It: Lightly sand the affected area with fine grit sandpaper (120–150 grit) and reapply the stain in thin coats. If the blotchiness is severe, a wood conditioner may be needed before re-staining.
2. Sticky or Tacky Surface
The Mistake: Leaving too much stain on the wood or applying a second coat before the first has dried.
How to Fix It: Use a rag dampened with mineral spirits to gently wipe the sticky areas. Let it dry completely, then touch up as needed.
3. Stain Didn’t Penetrate the Wood
The Mistake: Applying stain to a surface that’s too smooth or previously sealed.
How to Fix It: Lightly sand the surface to open the grain and reapply the stain. In some cases, you may need to strip the finish entirely and start over.
4. Peeling or Flaking Stain
The Mistake: Using paint instead of stain, or staining over a sealed surface.
How to Fix It: Strip the peeling areas with a wood stripper, sand the surface, and re-stain with a high-quality penetrating stain.
5. Color Too Dark or Wrong Tone
The Mistake: Applying too many coats or not testing the stain color first.
How to Fix It: If the item is fresh, use a wood bleach or sand it down to lighten the surface. If the stain has cured, you may need to strip it entirely before reapplying the right tone.
If you’re unsure where to start, there are five effective ways to address wood stain problems before they become permanent.
Wondering how to fix stain mistakes without sanding? In some cases, a wood brightener or chemical stripper can help—especially for blotchiness or excess pigment. However, sanding remains the most reliable method for surface corrections.
Hiring a Professional Wood Staining Contractor in Miami for Your Project
If you’re dealing with multiple types of wood, high square footage, or just want peace of mind, hiring a wood staining expert in Miami can be worth the investment.
For Homeowners:
- Professionals ensure a uniform look and avoid costly redos.
- They choose the best product for your specific wood type and exposure.
- Save time and effort, especially for larger decks or pergolas.
For Property Managers:
- Contractors can stain multiple units quickly and consistently.
- Reduce maintenance calls and tenant complaints.
- Protect your investment with long-lasting finishes.
When comparing contractors, ask about their staining experience, the products they use, and whether they offer warranties for peeling or fading. If you’re leaning toward expert help, this comparison of DIY versus getting professional service can guide your decision.
DIY or Professional Wood Staining: Which One is Right For You?
DIY is right if you:
- Have a small or accessible area to stain
- Are comfortable with sanding and finishing tools
- Have time for proper prep and drying times
Hire a pro if you:
- Are staining large decks or elevated wood
- Want a color match or consistent tone across old and new wood
- Have limited time or tools
Homeowners might enjoy the challenge of DIY, but if you’re busy or unfamiliar with staining techniques, a professional can help you avoid frustration and ensure a successful project.
Property managers, especially those handling multifamily units, benefit from the consistency and speed a pro team offers.
Frequently Asked Questions (FAQs) About Wood Staining Mistakes
How do you fix a wood staining mistake?
Start by identifying the issue—blotches, peeling, stickiness—and use the correct method: sanding, wiping with mineral spirits, or reapplying stain.
Can you stain over previously stained wood?
Yes, but only if the previous stain has worn down and isn’t sealed. Light sanding is often necessary.
Can you undo a wood stain?
While you can’t truly “undo” it, you can strip or sand it off and re-stain.
Is wood stain permanent?
Stains penetrate the wood, so they’re more permanent than paint, but they do fade over time—especially in direct sunlight.
How to fix a wood stain mistake without sanding?
Use a wood brightener or a stain remover for light corrections. For significant issues, sanding is usually necessary.
Making the Best Choice: Hiring a Wood Stain Painter in Miami
Whether you’re fixing a deck that’s gone wrong or starting fresh, staining wood is more than just applying color—it’s about prep, technique, and using the right products for your environment.
Hiring a professional wood staining contractor in Miami ensures that your surfaces are properly prepped and stained for long-term performance in South Florida’s challenging climate. They also understand the specific needs of tropical hardwoods, pressure-treated lumber, and exterior composite wood, all of which behave differently with stain.
If you’re a homeowner, this means better curb appeal, fewer maintenance headaches, and longer-lasting beauty. If you’re a property manager, it means less downtime, fewer repairs, and greater tenant satisfaction.
Explore popular wood stain colors for Miami homes that enhance your curb appeal and suit the climate.
For a beautiful, durable finish that withstands heat, rain, and sun, hire an expert wood stain painter to get the job done right.
Need help correcting or starting your wood staining project? Contact our trusted team of Miami wood stain professionals today for a quote or consultation.